Installing Little Snitch
Little Snitch installs by drag-and-drop to the Applications folder. However, it needs to run some setup code at the first time you start it in order to hook into the operating system and intercept network connections.
Installation procedure
Drag Little Snitch to your computer’s Applications folder (not the one in your home directory).
Start Little Snitch.
Little Snitch presents its license agreement. You must agree in order to proceed.
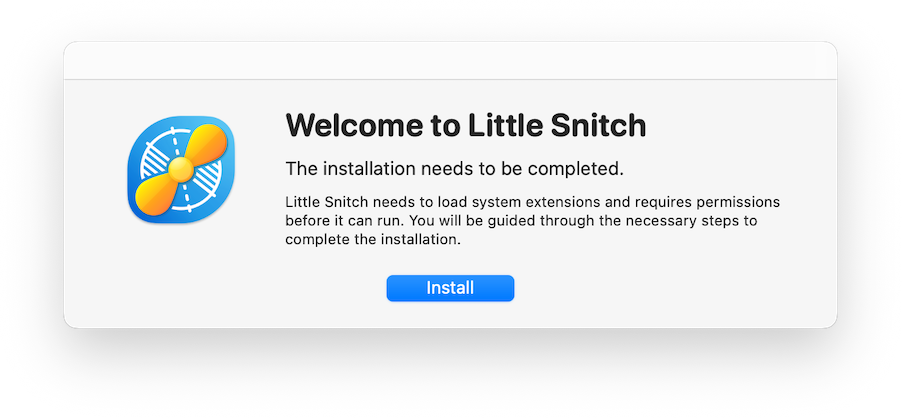
Little Snitch informs you about the next steps:

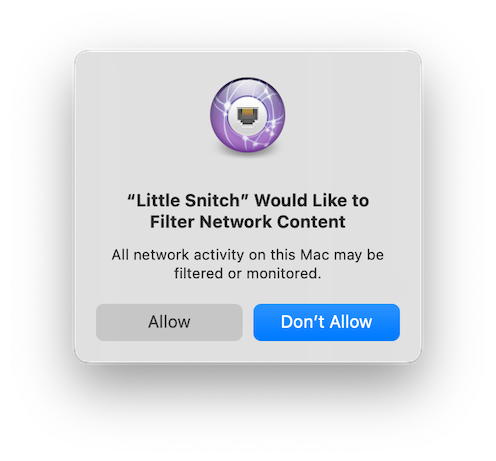
macOS asks whether Little Snitch should be allowed to filter network content. You must agree, which is not the default action, Little Snitch would not be active otherwise!

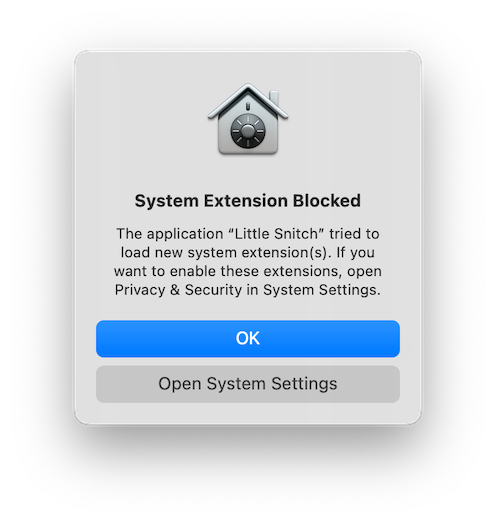
Little Snitch wants to install a System Extension in order to filter network traffic. Although you have already agreed to filtering, a separate step is required for the actual network filter code. You must click “Open System Settings”, which is not the default action! If you accidentally clicked “OK”, the default action, Little Snitch still offers a window which explains the procedure and has a button to open the System Settings.

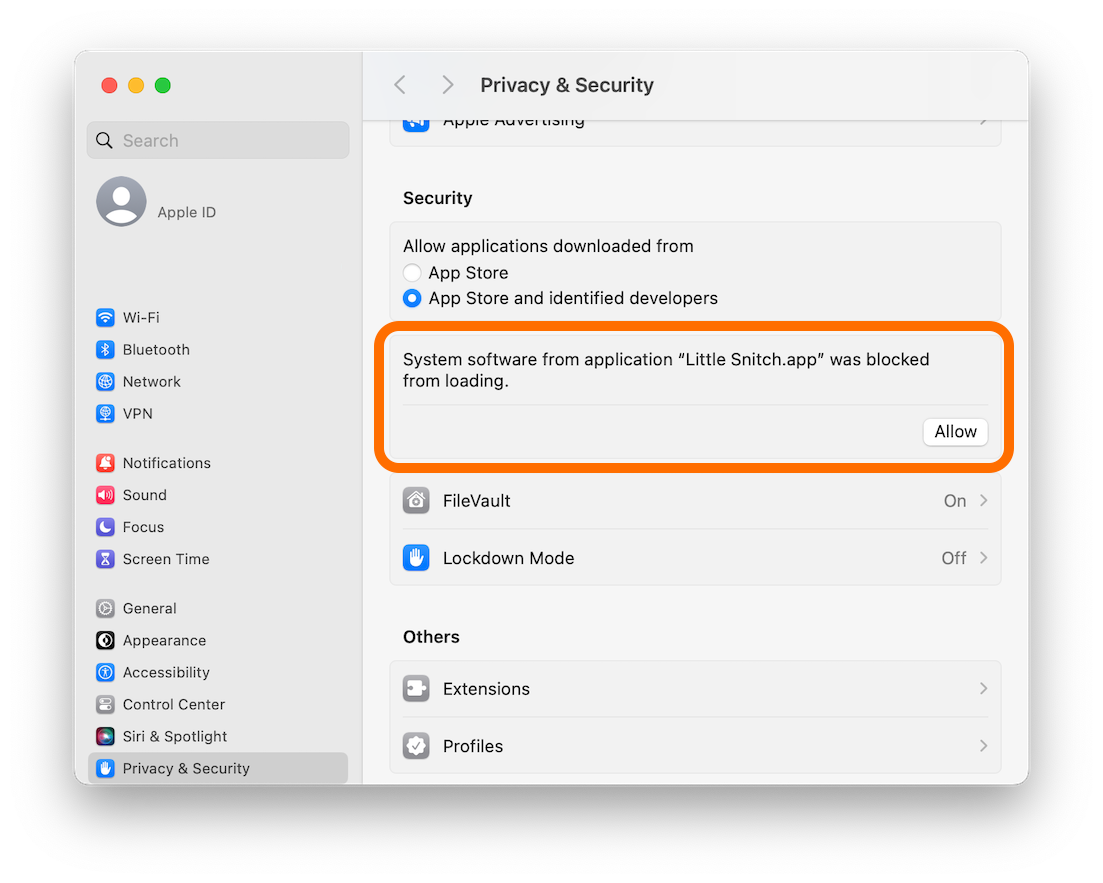
System Settings should open at the appropriate section, which is Privacy & Security > Security. Click “Allow” where it tells you that Little Snitch was blocked.

That’s it. Little Snitch now completes the installation.
Background Items

Little Snitch installs two background items: a system-wide daemon and a helper app which is started for each user at login time. The system-wide daemon acts as a central hub for communication among all components of Little Snitch and the helper app is responsible for showing alerts and notifications and for managing the status menu item. If you disable these items, this functionality is not available and Little Snitch will fail to provide its service.
Was this help page useful? Send feedback.
© 2016-2026 by Objective Development Software GmbH